How to Plan a Perfect Golden Hour Wedding Photoshoot
- Nick Kabalenov
- Apr 6, 2025
- 4 min read

Updated: Nov 2, 2025
Why Golden Hour Is Every Photographer’s Dream
If there’s one phrase every wedding photographer loves to hear, it’s “Let’s shoot at golden hour.”
The golden hour — the short window of time just after sunrise or before sunset — bathes everything in soft, warm, natural light. It makes skin tones glow, adds depth to backgrounds, and turns ordinary scenes into cinematic masterpieces.
In 2025, golden hour photography remains one of the most requested styles by couples who want romantic, natural, and timeless wedding portraits.
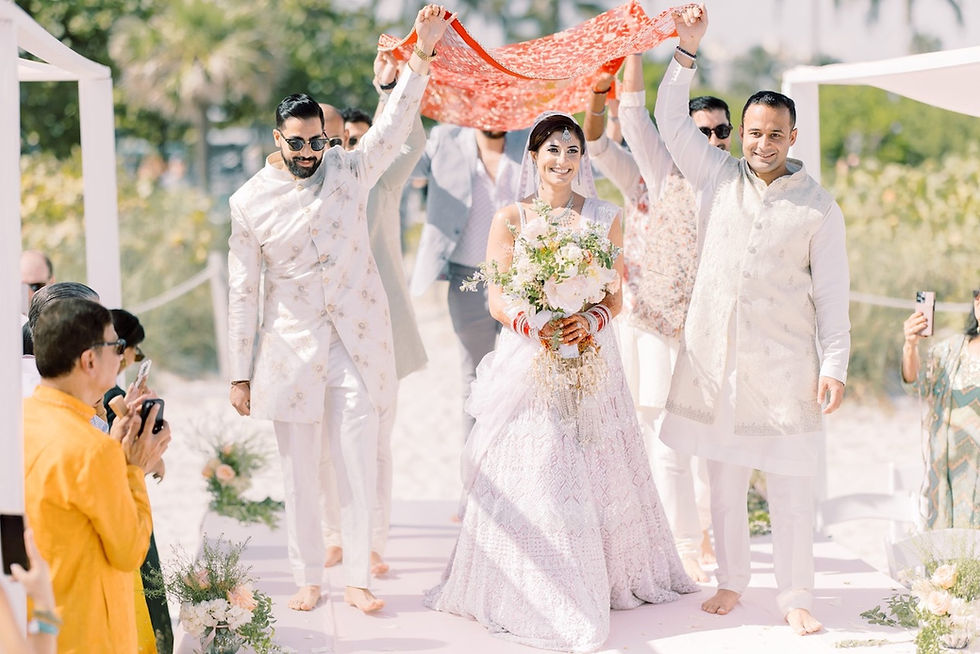
Whether you’re planning a beachfront wedding in Florida, a vineyard ceremony in California, or an intimate elopement in the mountains, this guide will help you plan the perfect golden hour wedding photoshoot.
☀️ What Exactly Is Golden Hour?
Golden hour occurs twice each day — once shortly after sunrise and again just before sunset.
During this time, the sun sits low in the sky, producing:
Soft, diffused light that flatters the skin
Long, romantic shadows
Warm tones (reds, oranges, golds)
A gentle glow that enhances natural colors
The result? Dreamy, cinematic photos that feel magical and full of emotion.
📆 Step 1: Plan the Timeline Around the Sun
The biggest secret to a perfect golden hour session is timing.Before setting your wedding day timeline, check the sunset time for your wedding date and location.
For example:
In Miami, sunset in summer is around 8:15 PM
In Colorado, it’s closer to 8:45 PM
In New York, around 7:45 PM
✨ Ideal Golden Hour Photography Schedule:
30–60 minutes before sunset: Couple portraits
15 minutes before sunset: Silhouette and backlit shots
At sunset: Romantic close-ups and lens-flare effects
After sunset (Blue Hour): Moody, cinematic photos
💍 Step 2: Coordinate with Your Wedding Photographer
A skilled wedding photographer will know how to maximize golden hour light — but it’s crucial to build this into your timeline early.
Discuss these key details with your photographer:
The exact start time of golden hour on your date
Where the best light hits your venue
How to position your portraits around your ceremony or dinner
If you’re working with a planner, make sure everyone knows when to pause formalities (like dinner or toasts) so you can sneak away for 15–20 minutes of magical lighting.
🌸 Step 3: Choose the Perfect Location
Golden hour light transforms any setting, but some locations truly shine during this time.
Best Golden Hour Wedding Photography Spots:
Open fields or vineyards — soft glow and long shadows
Beaches or lakesides — shimmering reflections on water
Rooftop terraces — dramatic urban backdrops
Gardens or forests — sunlight filtering through leaves
Mountaintops or desert landscapes — vast, cinematic views
💫 Step 4: Dress and Styling for the Glow
Clothing and makeup can dramatically affect how golden hour light looks in your photos.
Outfit Tips for Couples:
Choose neutral or pastel tones (white, beige, blush, light blue)
Avoid neon or overly bright colors that reflect light harshly
Flowy fabrics (like chiffon or silk) catch the breeze beautifully
For grooms, light-colored suits complement warm tones
Makeup & Hair:
Use a dewy, natural finish for that sun-kissed glow
Highlight cheekbones and collarbones to enhance the light
Keep hair slightly loose — movement looks amazing backlit by the sun
🌇 Step 5: Perfect Poses for Golden Hour
During golden hour, your photographer will likely use backlighting, side lighting, and silhouettes to create depth.
Here are some must-try poses:
Forehead kiss — warm, intimate, and timeless
Walking hand in hand — shows motion and glow
Twirl or spin — perfect for flowy dresses
Silhouette embrace — dramatic and cinematic
Close-up laughter — captures the sparkle in your eyes
🌤️ Step 6: Be Flexible with Weather
Even if the sun hides behind clouds, don’t panic — soft overcast light still creates gorgeous portraits.Clouds act like a natural diffuser, evening out the light and minimizing harsh shadows.
If rain’s in the forecast, embrace it — moody skies and umbrellas can add a romantic, cinematic vibe to your gallery.
📱 Step 7: Use the Blue Hour for a Modern Twist
Right after sunset comes the blue hour — when the sky turns a deep, glowing blue and city lights begin to sparkle.
This is the perfect moment for:
City skyline shots
Intimate embraces under twinkle lights
Long-exposure creative photography
Adding a few blue-hour portraits to your gallery gives your album a modern, editorial finish.
💡 Bonus Tips from Professional Photographers
Bring props: A champagne bottle, veil, or bouquet can add movement.
Face the sun occasionally: For lens flare and radiant glow.
Relax: Authentic emotions shine brightest when you’re having fun.
Trust your photographer’s timing: They’ll know the exact minute to shoot for the best light.
Golden hour is more than just a time of day — it’s a feeling. It’s when everything slows down, the light wraps around you, and your love story glows from every angle.
By planning ahead, communicating with your photographer, and embracing nature’s rhythm, you’ll end up with wedding photos that feel timeless, cinematic, and beautifully real.
📸 Capture Your Golden Hour Love Story
At The Lumen Media, we specialize in cinematic golden hour wedding photography across Miami, Florida, and destination weddings worldwide.
Let’s make your photos glow as bright as your love.


Comments